Saturday, April 21, 2018

Auto-crop transparent padding of pictures in PowerPoint

Imagine one of your PowerPoint slides has some pictures that have some transparent padding around them. Here is an example:


Sometimes such padding can get in the way, for example, if you want to align these pictures using PowerPoint's align feature. That is, the feature will align these pictures based on the actual boundaries of the pictures, not the boundary of the visible parts. The result will not look aligned at all. The solution is to get rid of the extra padding, so that they look like this:


Of course you can achieve the above by using PowerPoint's crop feature to carefully crop until all the extra padding is gone. Alternatively, you can achieve the same more easily and more precisely (and with just one click) using CropLab's Crop Out Padding feature (CropLab is a part of the free add-in PowerPointLabs).


Some other things CropLab can do are given below.
1. Crop a picture to match shapes:


2. Crop parts that are outside the slide:


3. Crop to match the size of another picture:


4. Crop pictures to match a given aspect ratio (so that they can be resized to the same size):


Learn more about the CropLab herePowerPointLabs is a free PowerPoint Add-in developed at NUS School of Computing. You can download it from https://www.comp.nus.edu.sg/~pptlabs/

Friday, March 30, 2018

Create a 'Frosted Glass' effect in your PowerPoint slides using PowerPointLabs

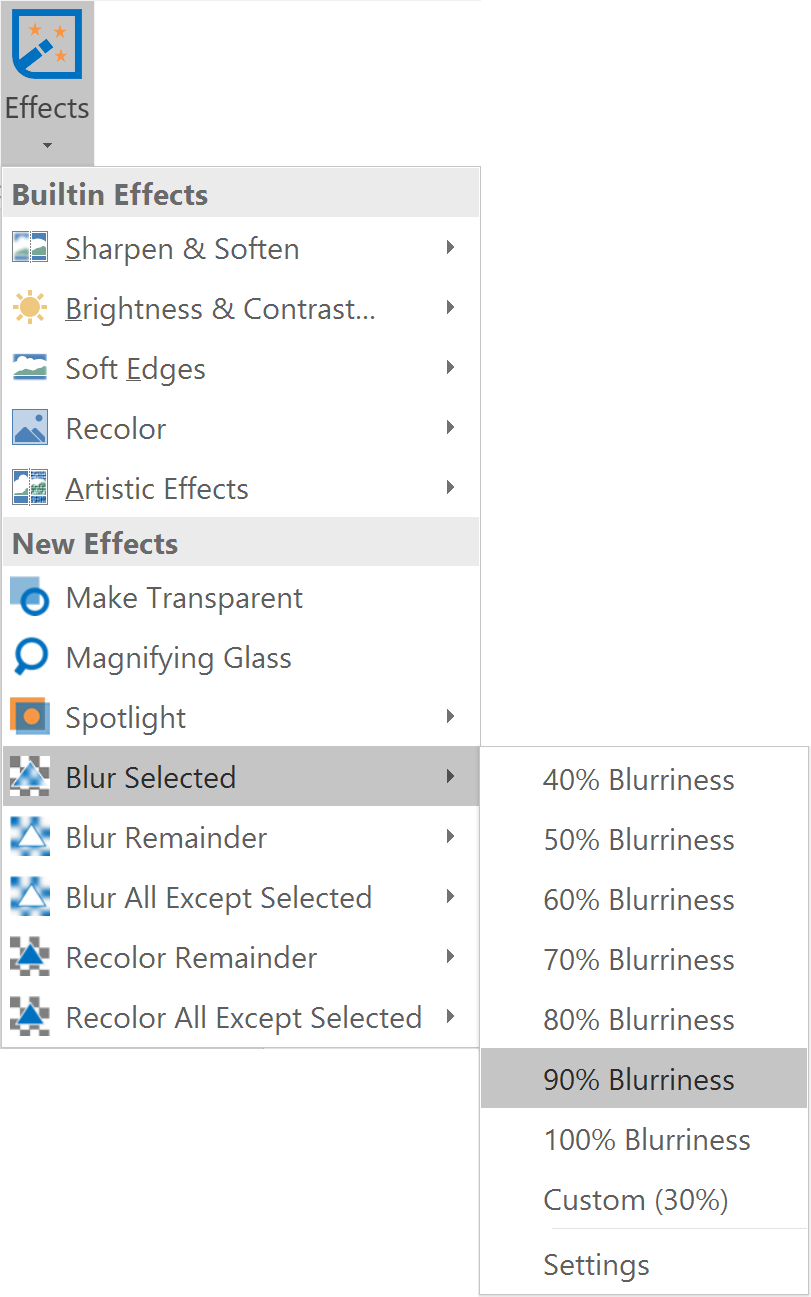
'Blur Selected' feature of the Effects Lab (one of the Labs included in PowerPointLabs) can be used to create a frosted glass effect by adding a blur effect to the selected area. 


To use the feature, first draw a shape over the area to be blurred, select the shape, like so.


Then select Blur Selected from the Effects dropdown menu and choose the blurriness level to use.

This feature is especially useful when you want to show some text to appear over a picture background without the details of the picture interfering with the readability of the text. Here are some examples:

 https://pxhere.com/en/photo/567004 


PowerPointLabs is a free PowerPoint Add-in developed at NUS School of Computing. You can download it from https://www.comp.nus.edu.sg/~pptlabs/

Picture credits:
  • https://pxhere.com/en/photo/567004
  • https://commons.wikimedia.org/wiki/File:Tea_plants.jpg
  • https://www.pexels.com/photo/stripes-insects-macro-golden-57398/
  • https://pixnio.com/nature-landscapes/meadows/grass-meadow-wood-nature-sun


Add a visual timer to a PowerPoint slide using the TimerLab

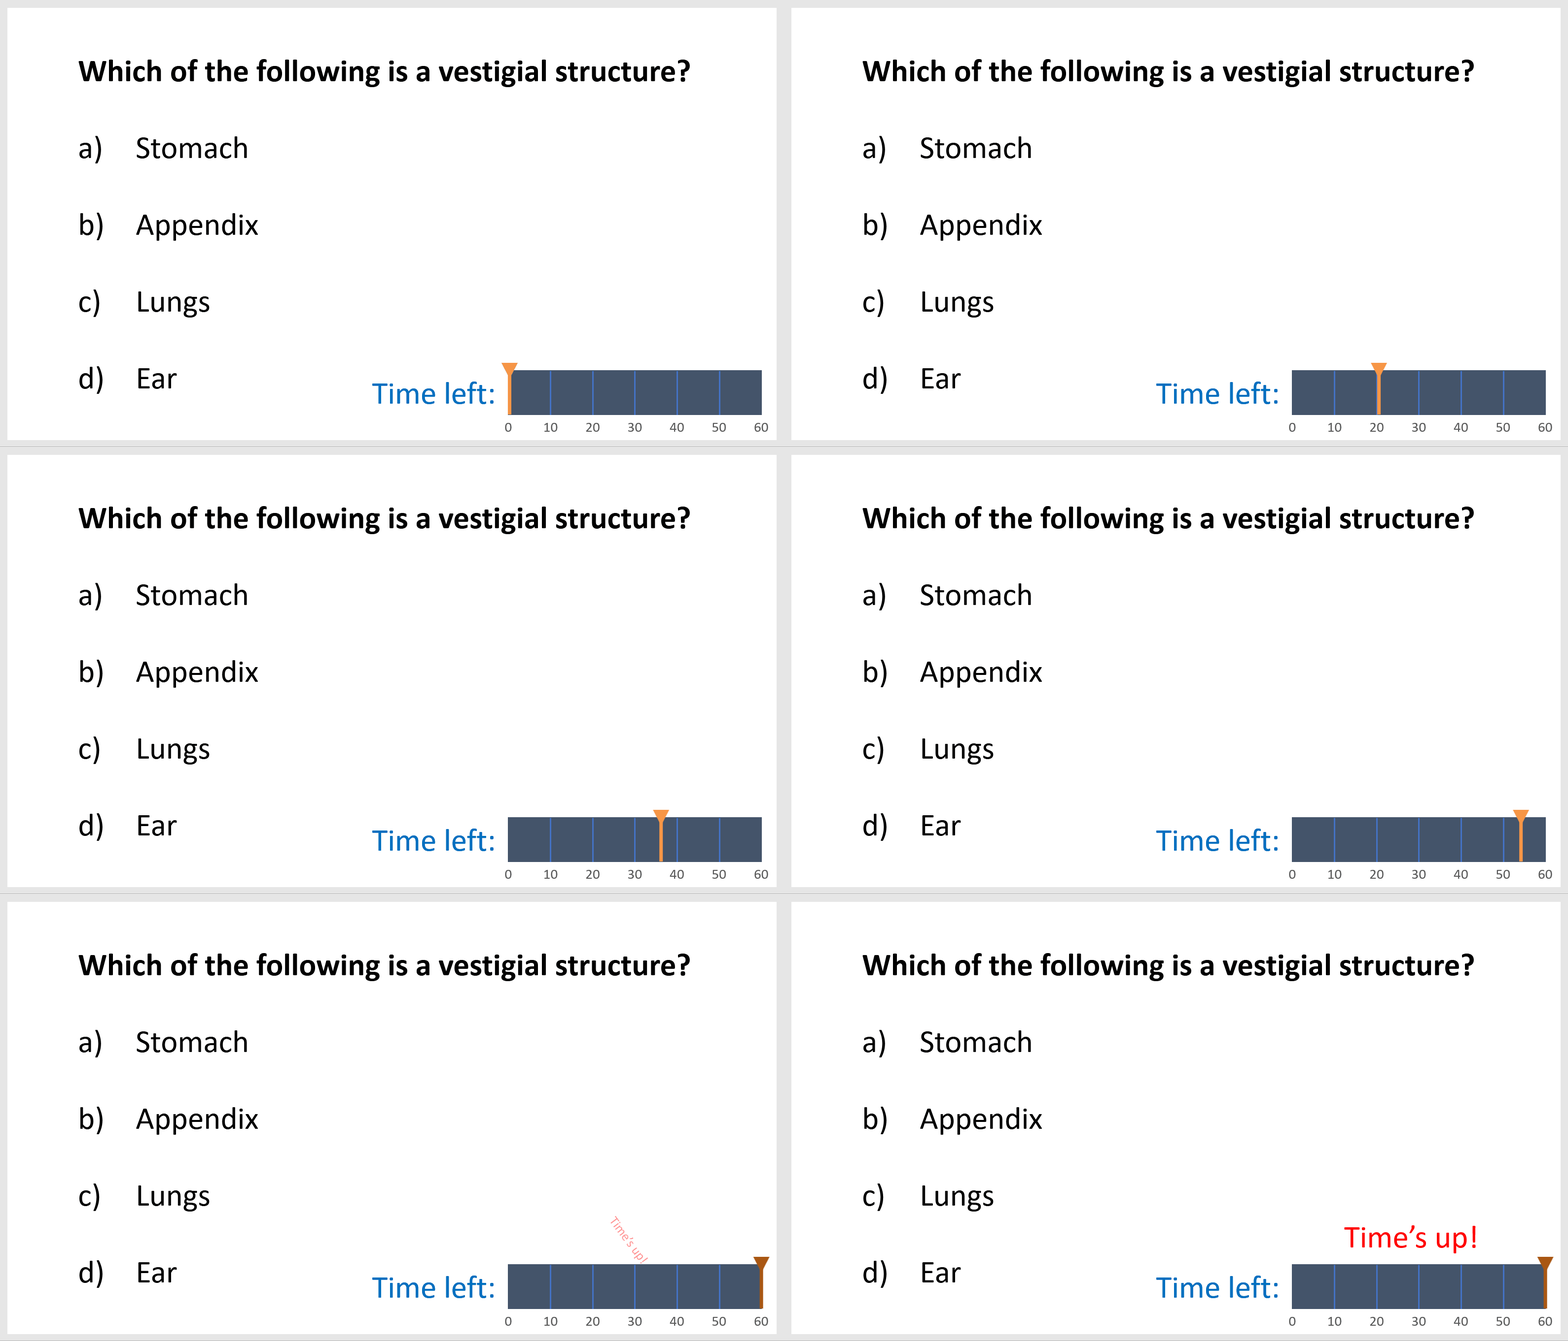
You can add animated timers onto your slide show using PowerPointLab's Timer Lab feature, like this example below.


As generated timers consist of normal PowerPoint objects, you can tweak their appearance as you wish. Here are two examples:


To see a slide deck containing an example of a timer, click here

PowerPointLabs is a free PowerPoint Add-in developed at NUS School of Computing. You can download it from https://www.comp.nus.edu.sg/~pptlabs/
Tuesday, October 20, 2015

Two neat techniques to keep the audience informed of your progress in the presentation


For content-heavy and long presentations, it is important to keep the audience updated about how far into the presentation you are.  The Agenda Lab feature of PowerPointLabs (a free add-in for PowerPoint) can generate 'you are here' outline slides at various points of the presentation. An example is given below.


During the presentation, those slides will look like this when you transition from one topic to the next:


Alternatively, you can use the same Agenda Lab feature to generate a sidebar like this (it appears on top of the slide by default, but can be moved to a different location):


The best part is, when you change the presentation content (e.g. add a new topic), the inserted slides/sidebar can be updated automatically with a click of a button. To find out more, visit Agenda Lab documentation.

Monday, November 24, 2014

Recolor only an area of a slide to focus attention


 image credit: David R. Tribble   
Recolor Remainder feature changes the color of the surrounding areas while leaving the selected area unchanged.
First draw a shape over the area which should be left unchanged. You can use PowerPoint's 'freeform' shape if you want to draw a irregular shape as the one given below.

Next, select the shape, select Recolor Remainder from the Effects Lab dropdown, then choose the scheme to use - in our example here, we chose Gray Scale.

PowerPointLabs will insert a new slide, with the surrounding areas recolored (similar to the first image in this post).
After applying this feature, you can apply other PowerPoint features to the recolored area as well as the non-recolored area. Here are some examples.
 
Here is a short demo video:
 
The Recolor remainder feature comes with the free PowerPointLabs add-in and works for both PowerPoint 2010 and 2013 on Windows. 

Adjust transparency of pictures on slides


The Make Transparent turns the selected image or shape slightly transparent. This can be used to fade an image for use in the background of a slide, as shown above.
To apply the feature, select the image and click  Make Transparent from the Effects Lab dropdown.

 This feature can be useful in 'toning down' any picture so that it does not attract unnecessary attention, for example, making a logo less conspicuous:

The 'Make transparent' feature comes with the free PowerPointLabs add-in and works for both PowerPoint 2010 and 2013 on Windows.

Sunday, November 23, 2014

Blur slide background to focus attention on an area

 image credit: http://commons.wikimedia.org/wiki/File:Royal_Wedding_Crowd.jpg

Blur Remainder feature can be used to draw attention to a particular part of the slide by adding a blur effect to the surrounding areas - similar to adjusting the focus on a camera.

To use it, first draw a shape over the area to be kept in focus.
Select the shape, then click Blur Remainder from the Effects Lab dropdown.
PowerPointLabs will then insert a new slide containing the blur effect.
 

It works with multiple shapes in one slide too. Here is an example:


Here is a short demo video:


The 'Blur remainder' feature comes with the free PowerPointLabs add-in and works for both PowerPoint 2010 and 2013 on Windows.